How to Grow Magic Mushrooms at Home
Growing magic mushrooms at home can be a rewarding and educational experience, but it’s important to approach the process responsibly and legally. In many countries and states, cultivating psychedelic mushrooms is illegal, so always check your local laws before starting. If it’s permitted where you live, here’s a beginner-friendly guide to help you grow your own magic mushrooms at home.
Table of Contents
- What You’ll Need
- Step 1: Prepare the Substrate
- Step 2: Sterilize the Jars
- Step 3: Inoculate the Jars
- Step 4: Wait for Colonization
- Step 5: Set Up the Fruiting Chamber
- Step 6: Maintain and Harvest
- Final Thoughts
What You’ll Need
-
-
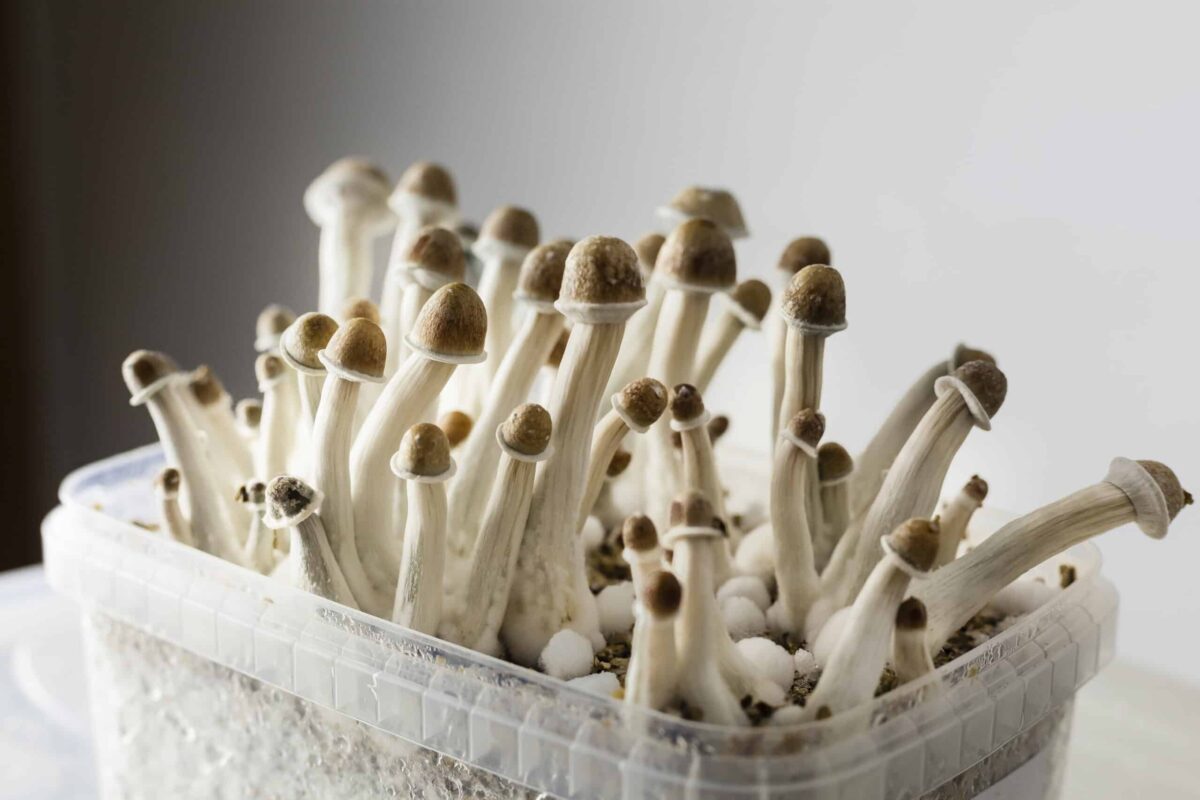
These contain the spores of your desired mushroom strain, such as Psilocybe cubensis or Orisa India. Ensure you purchase from a reputable supplier.
-
-
Substrate Ingredients
-
Brown rice flour (BRF)
-
Vermiculite
-
Distilled water
-
-
Mason Jars
-
Wide-mouthed jars are ideal for growing the mycelium.
-
-
Pressure Cooker or Large Pot
-
For sterilizing the substrate and jars.
-
-
Plastic Storage Box (Fruit Chamber)
-
A large, clear container with a lid to serve as the fruiting chamber.
-
-
Perlite
-
For maintaining humidity in the fruiting chamber.
-
-
Basic Tools
-
Aluminum foil
-
Rubbing alcohol (70% or higher)
-
Gloves
-
Mask
-
Spray bottle
-
Step 1: Prepare the Substrate
The substrate is the material on which the mushrooms will grow.
-
Mix the substrate ingredients:
-
Combine 2 parts vermiculite, 1 part brown rice flour, and 1 part water in a bowl. Mix until the vermiculite is moist but not soggy.
-
-
Fill the mason jars:
-
Loosely pack the substrate into each jar, leaving about an inch of space at the top. Cover the opening with a dry layer of vermiculite to act as a contamination barrier.
-
-
Seal the jars:
-
Cover each jar with aluminum foil to prevent water from entering during sterilization.
-
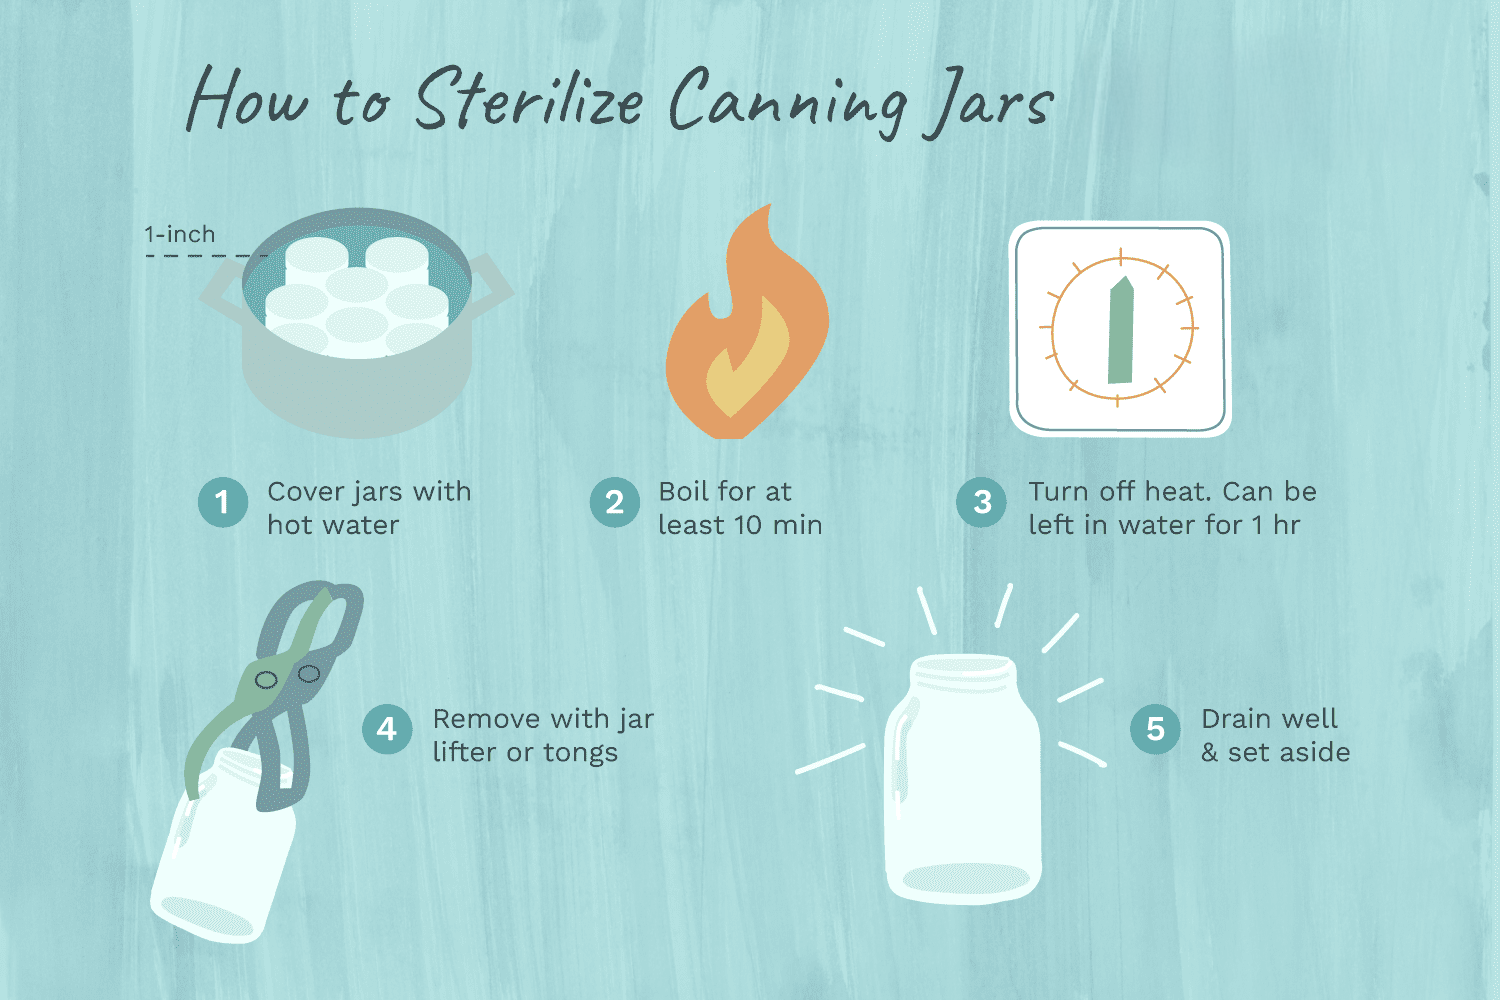
Step 2: Sterilize the Jars
Sterilization is crucial to prevent contamination.
-
Place the jars in a pressure cooker or large pot. Add water to about one-third of the jar height.
-
Sterilize the jars for 60-90 minutes at 15 PSI (or simmer for 90 minutes if using a pot).
-
Let the jars cool completely before proceeding to the next step.
Step 3: Inoculate the Jars
This is where you introduce mushroom spores into the substrate.
-
Sterilize your workspace and tools:
-
Use rubbing alcohol to clean your gloves, spore syringe, and the jar lids.
-
-
Inject the spores:
-
Shake the spore syringe to distribute the spores evenly. Insert the needle through the jar’s vermiculite layer and inject a small amount of spore solution into 4 different points around the jar.
-
-
Seal the jars:
-
Replace the aluminum foil and store the jars in a clean, dark, and warm (70-80°F or 21-27°C) location.
-
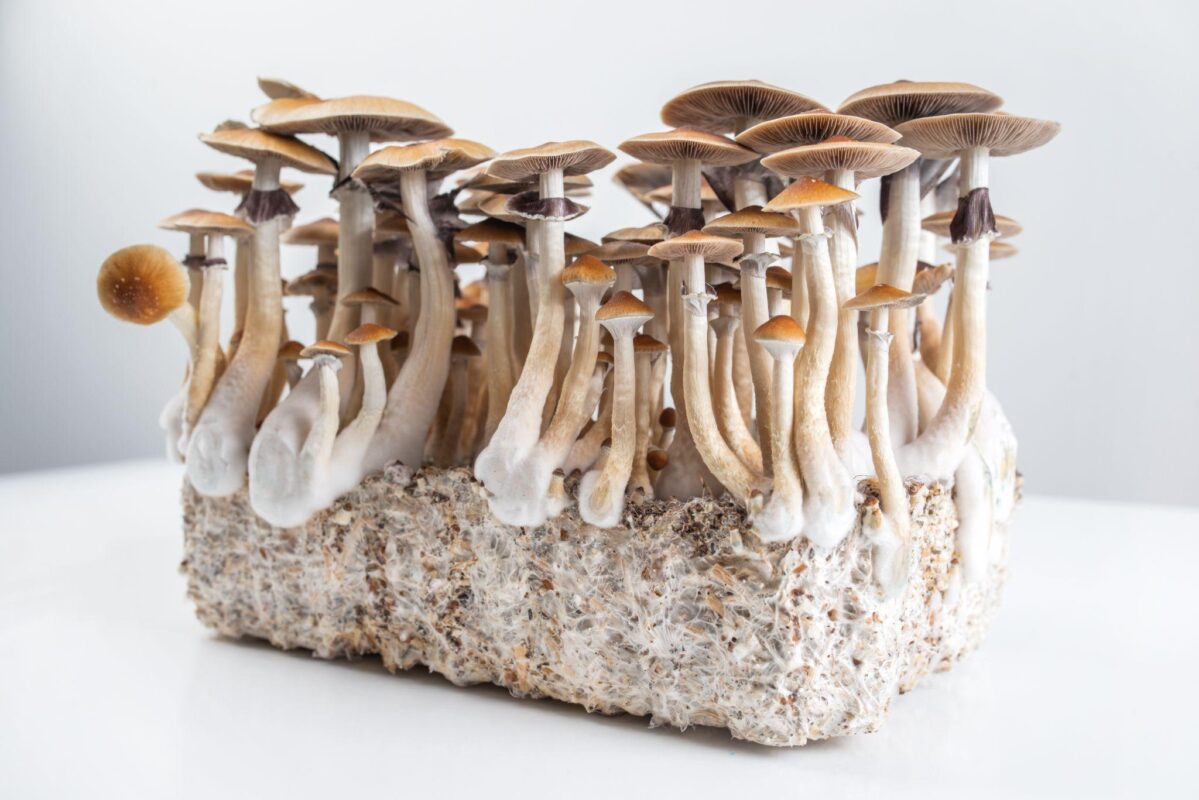
Step 4: Wait for Colonization
Over the next 2-4 weeks, the spores will grow into a white, thread-like structure called mycelium.
-
Monitor the jars:
-
Check for signs of contamination (e.g., discoloration or foul smells). If contamination occurs, discard the jar immediately.
-
-
Full colonization:
-
Once the mycelium has fully colonized the substrate, your jars are ready for the fruiting stage.
-
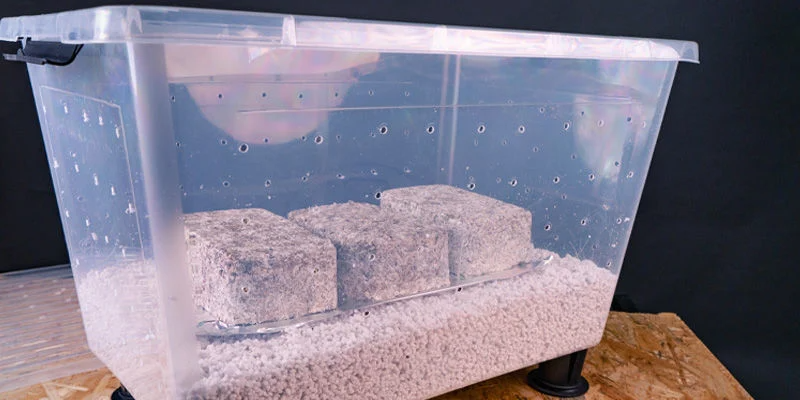
Step 5: Set Up the Fruiting Chamber
The fruiting chamber creates the ideal environment for mushrooms to grow.
-
Prepare the chamber:
-
Drill small holes every 2 inches on all sides of the plastic storage box, including the lid and base, for airflow.
-
Add a 3-4 inch layer of damp perlite to the bottom to maintain humidity.
-
-
Transfer the cakes:
-
Remove the fully colonized substrate (called “cakes”) from the jars. Rinse them under cold water to remove excess vermiculite.
-
-
Dunk and roll:
-
Soak the cakes in cold water for 12-24 hours, then roll them in dry vermiculite to retain moisture.
-
-
Place in the chamber:
-
Arrange the cakes on a piece of foil inside the fruiting chamber, leaving space between each cake for airflow.
-
Step 6: Maintain and Harvest
-
Humidity and Lighting:
-
Mist the chamber walls and cakes 2-3 times a day using a spray bottle. Avoid direct misting of the cakes.
-
Provide indirect light (12 hours on, 12 hours off). A simple desk lamp works fine.
-
-
Harvesting:
-
Mushrooms are ready to harvest when the caps begin to open and separate from the stems. Twist gently to remove them without damaging the cake.
-
Final Thoughts
Growing magic mushrooms requires patience, attention to cleanliness, and a willingness to learn through trial and error. By following these steps, you can create a safe and productive setup for cultivating your own mushrooms. Remember to always act within the boundaries of the law and use your harvest responsibly and ethically.